Hello friends!!
Recently, I’ve been in a bit of a crafty mood. One of the things I keep trying to make is these mini-books that I see all over the internet. I thought, yes, I too would love to have mini-sized books of the books that I own that I have read. I have tried a few different ways of doing these and have looked at a few different tutorials. Over time, I have found a way that I like to make them, and I thought I would share this with you! Just you, though. Don’t tell anyone else.
Before I get into the tutorial, I just want to mention that this is definitely not the only way to do this craft. I have seen so many different tutorials, and I encourage you to find the way that works the best for you. I think I changed the way I did mine 3 or 4 times before I came up with the method I’m about to show you!

For this tutorial, there are a handful of, I guess I would call them “specialty items”. A lot of what I use can be replaced with something else. The method I came up with is relatively forgiving, but the end product still looks great (in my opinion).
For this tutorial, you will need:
- A printer (I use the Canon Ivy)
- Glue (I use a glue tape because it’s quick and not messy)
- Poster board (I get the 12 count of 11 x 14 poster board from Walmart because it’s like 4 bucks, and I’m cheap)
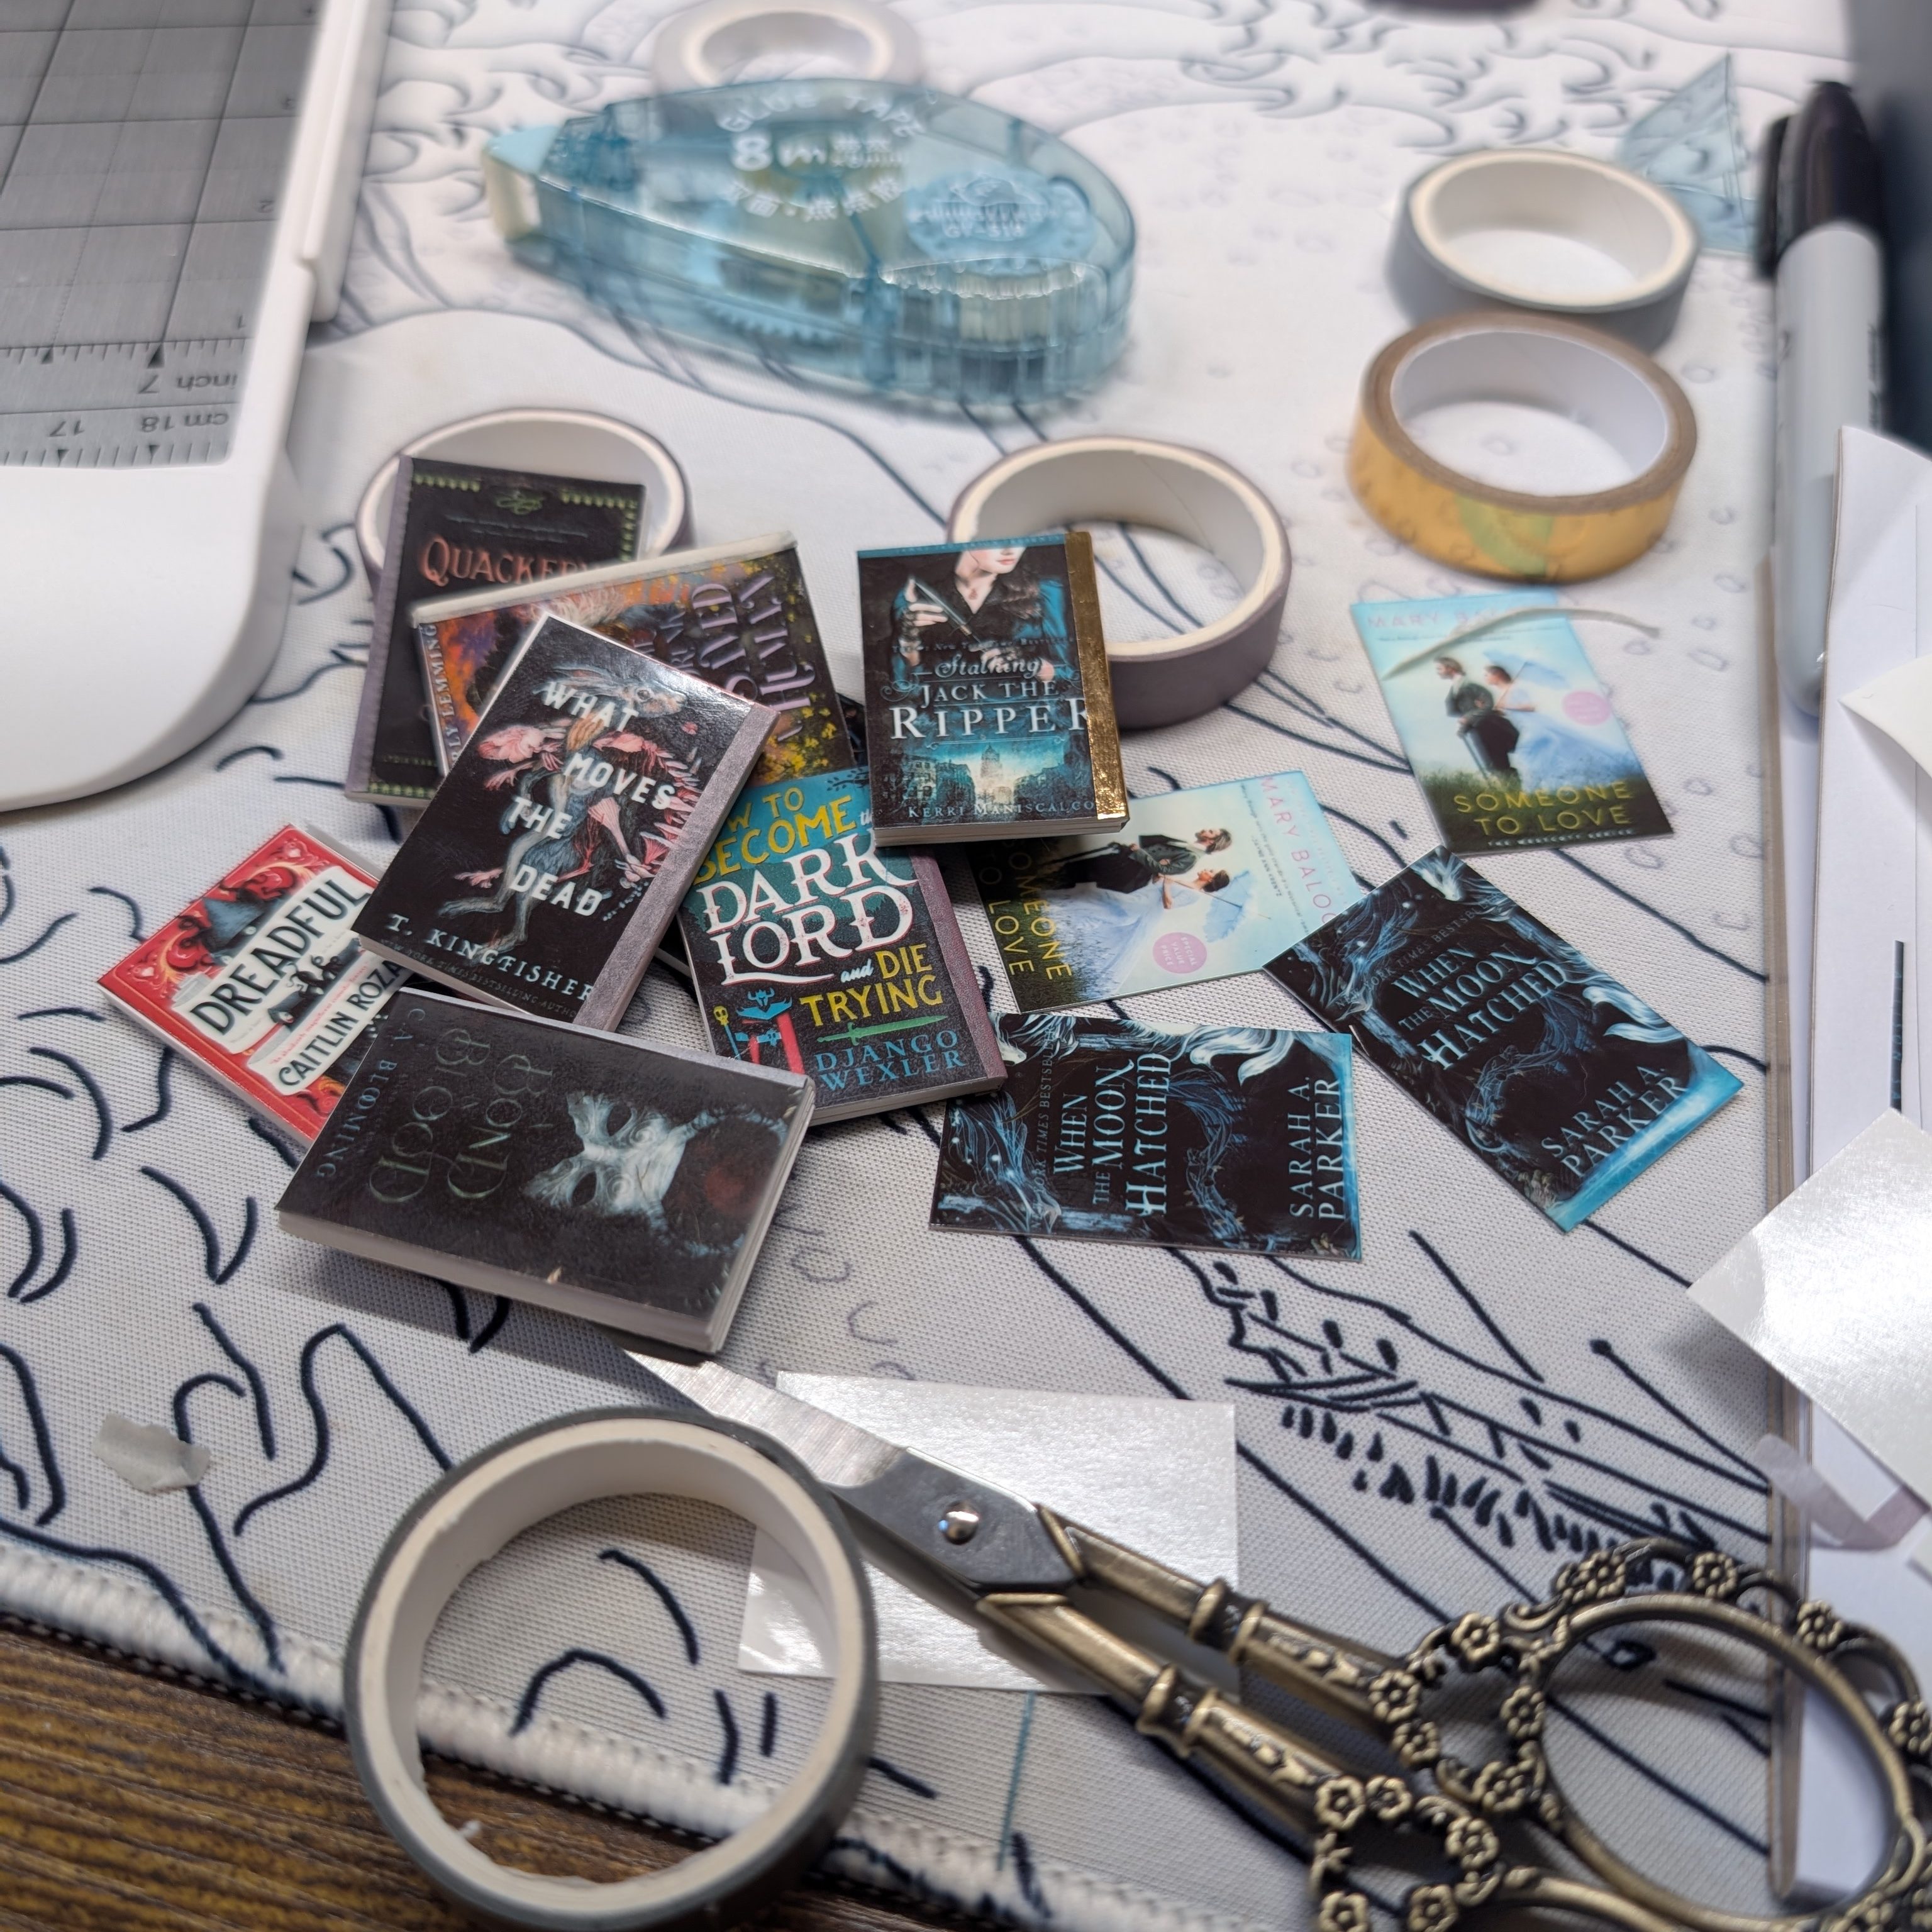
- Scissors (I have both scissors and a cutter to help me make the long straight lines)
- Washi Tape
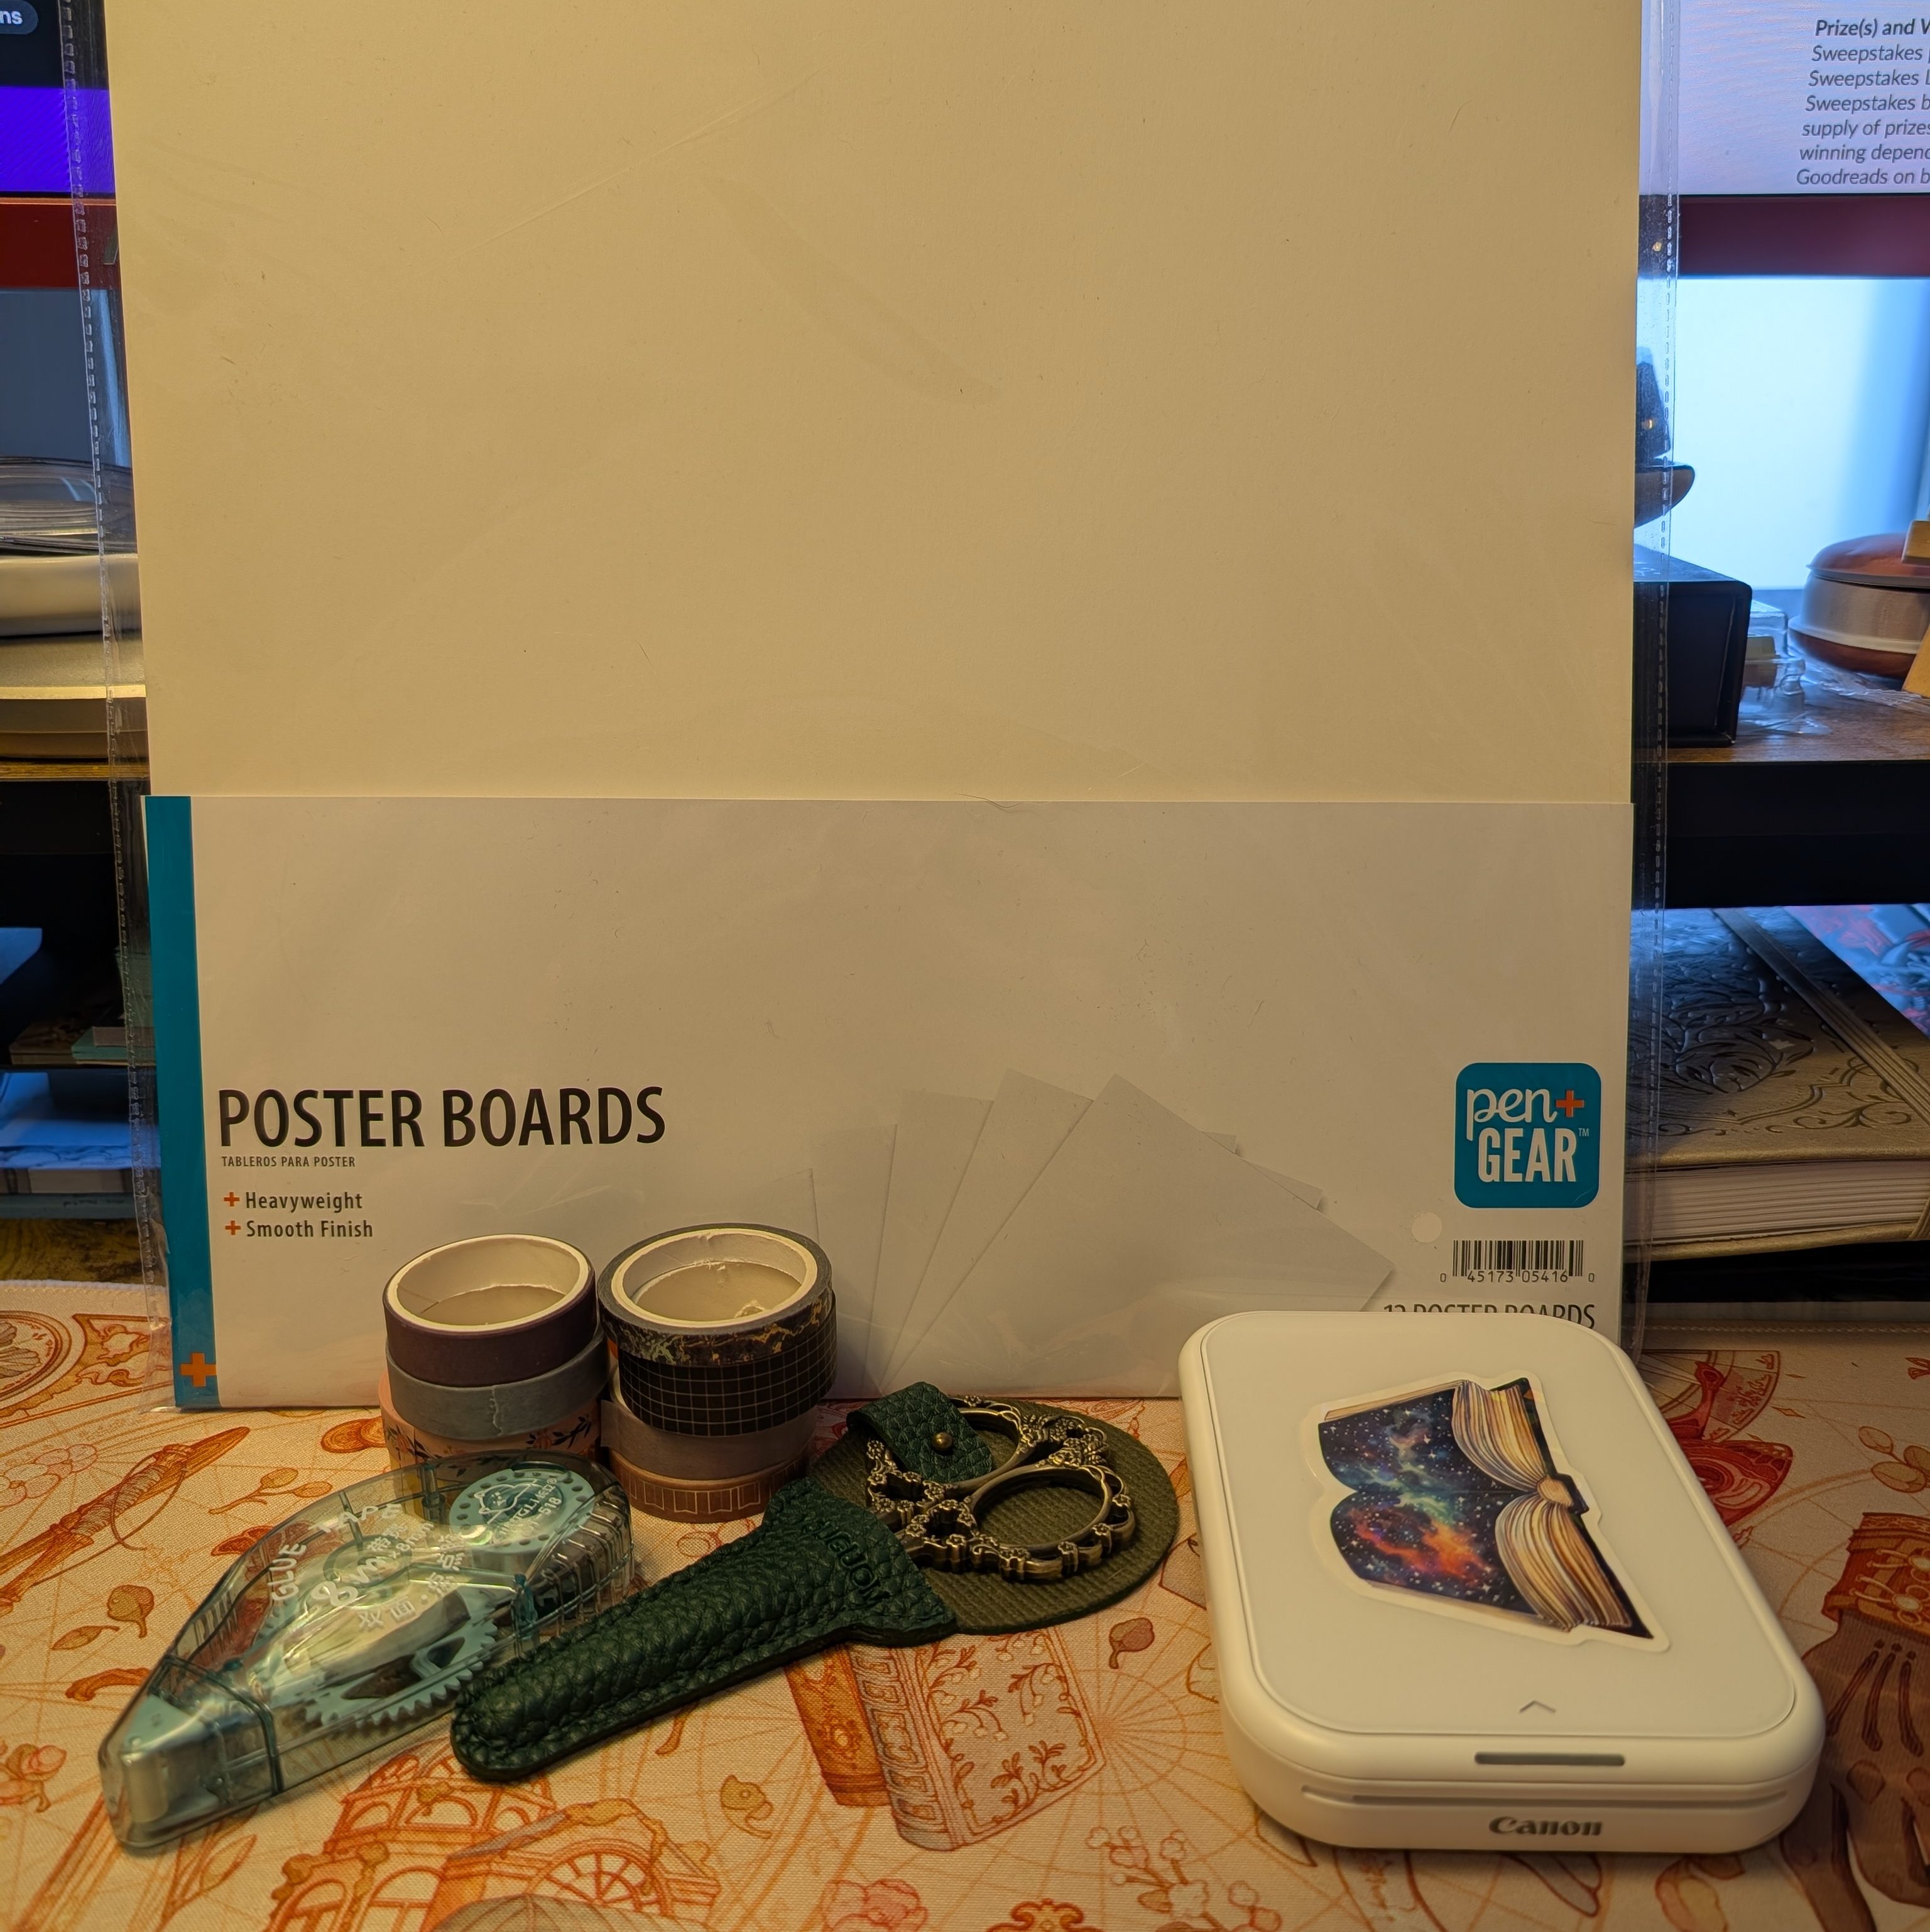
Many of these items can be easily replaced with something similar. I have the Canon Ivy printer, which prints on sticky photo paper. If you have a color printer, you could easily use that and just tape/glue the image. The washi tape is probably the one part I don’t have a good alternate option for.

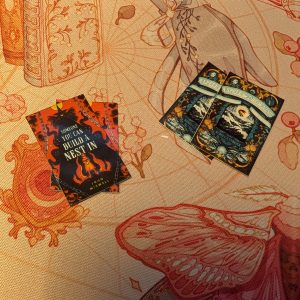
Step 1: Make the Cover(s)

For this step, I use the 4-quadrant option on my Canon Ivy app to print out the covers for two books I want to make a mini-book of. I stagger the books because they’ll print out on one rectangular sheet, so to make it easier to see the lines between the books, I stagger them on the sheet. I do need to wait until I have at least 2 books. One of these covers will be the front of the mini-book, and the other will be the back.
Alternative Option: You could put a solid color and add text for the back cover. I used to do the star rating, date finished, and type of book (audio, hardcover, e-book, etc.).
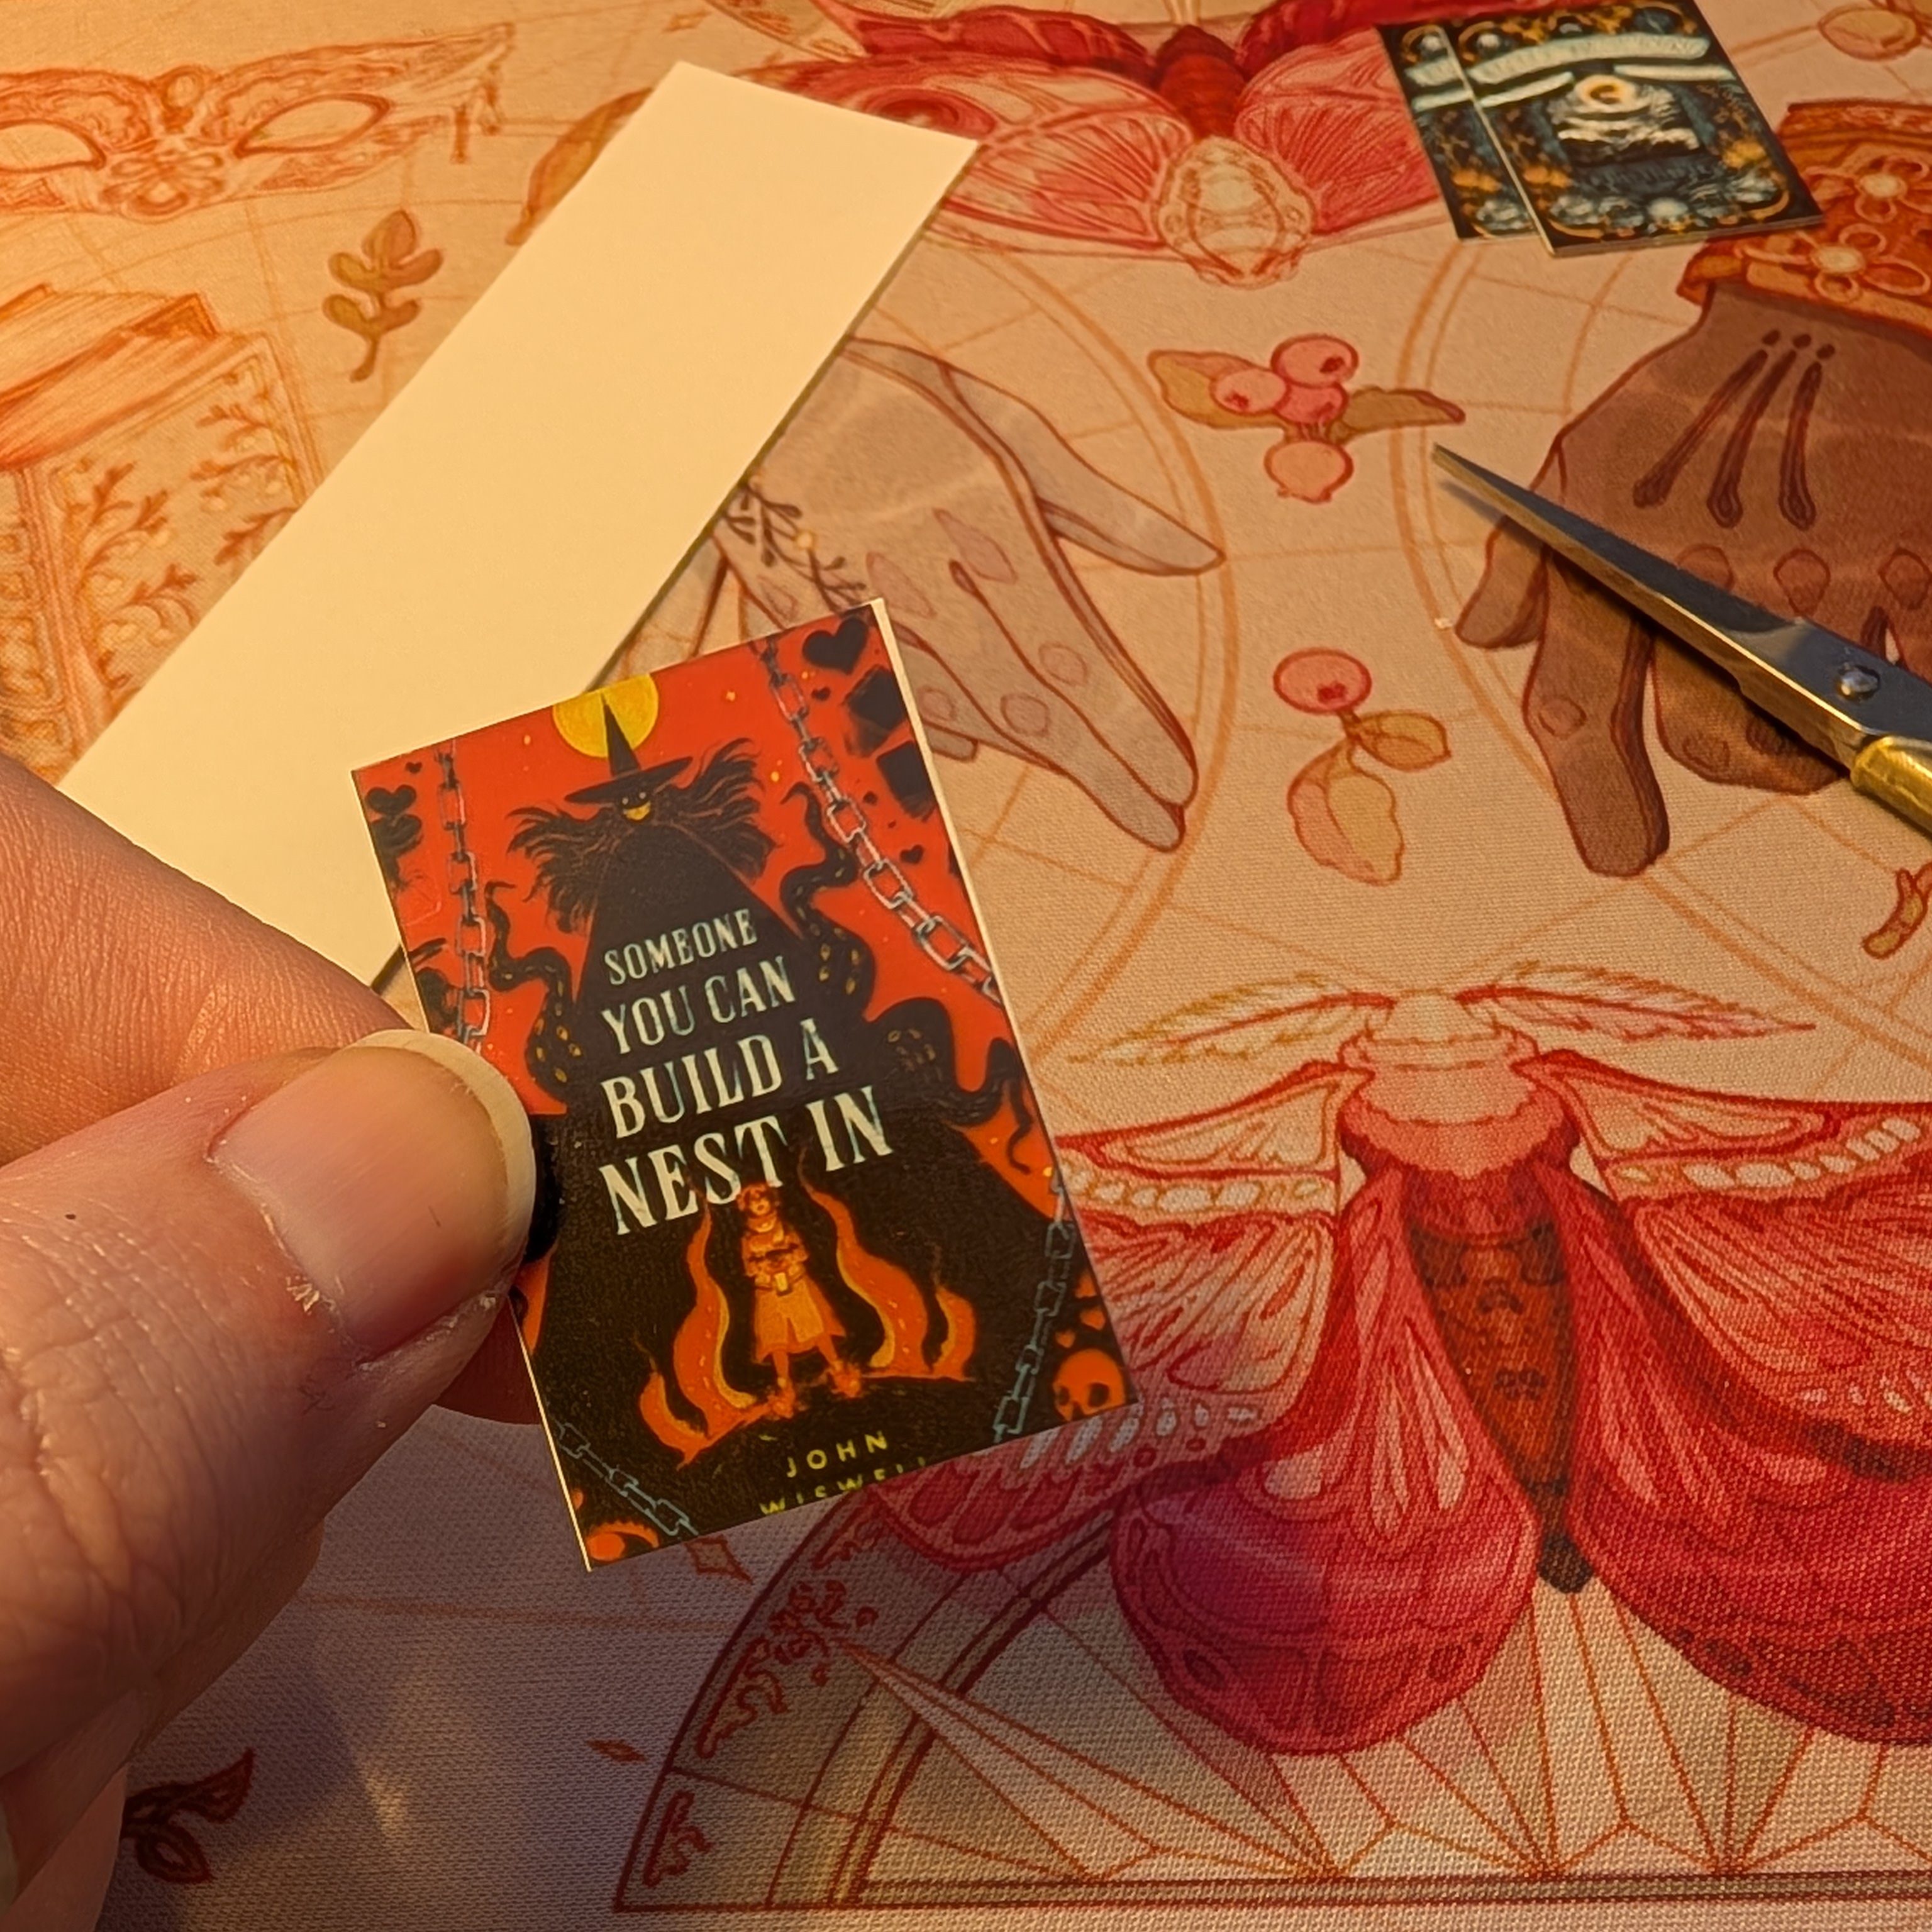
Step 2: Cut
We need those pieces to be separate from each other so we can continue on our journey. Ideally, they’ll be relatively the same size, but don’t worry if they’re a little off. Honestly, I think the small imperfections make it even better.
Step 3: Stick!
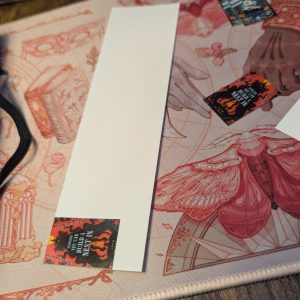
You are going to take one of the covers and stick it to the top corner of your posterboard. The picture I have here is from a previously used sheet of poster board, which is why it looks so small. The reason we do this is so that we can use the cover as a guide for the cuts that we are going to make.
Step 4: Cut…Again!
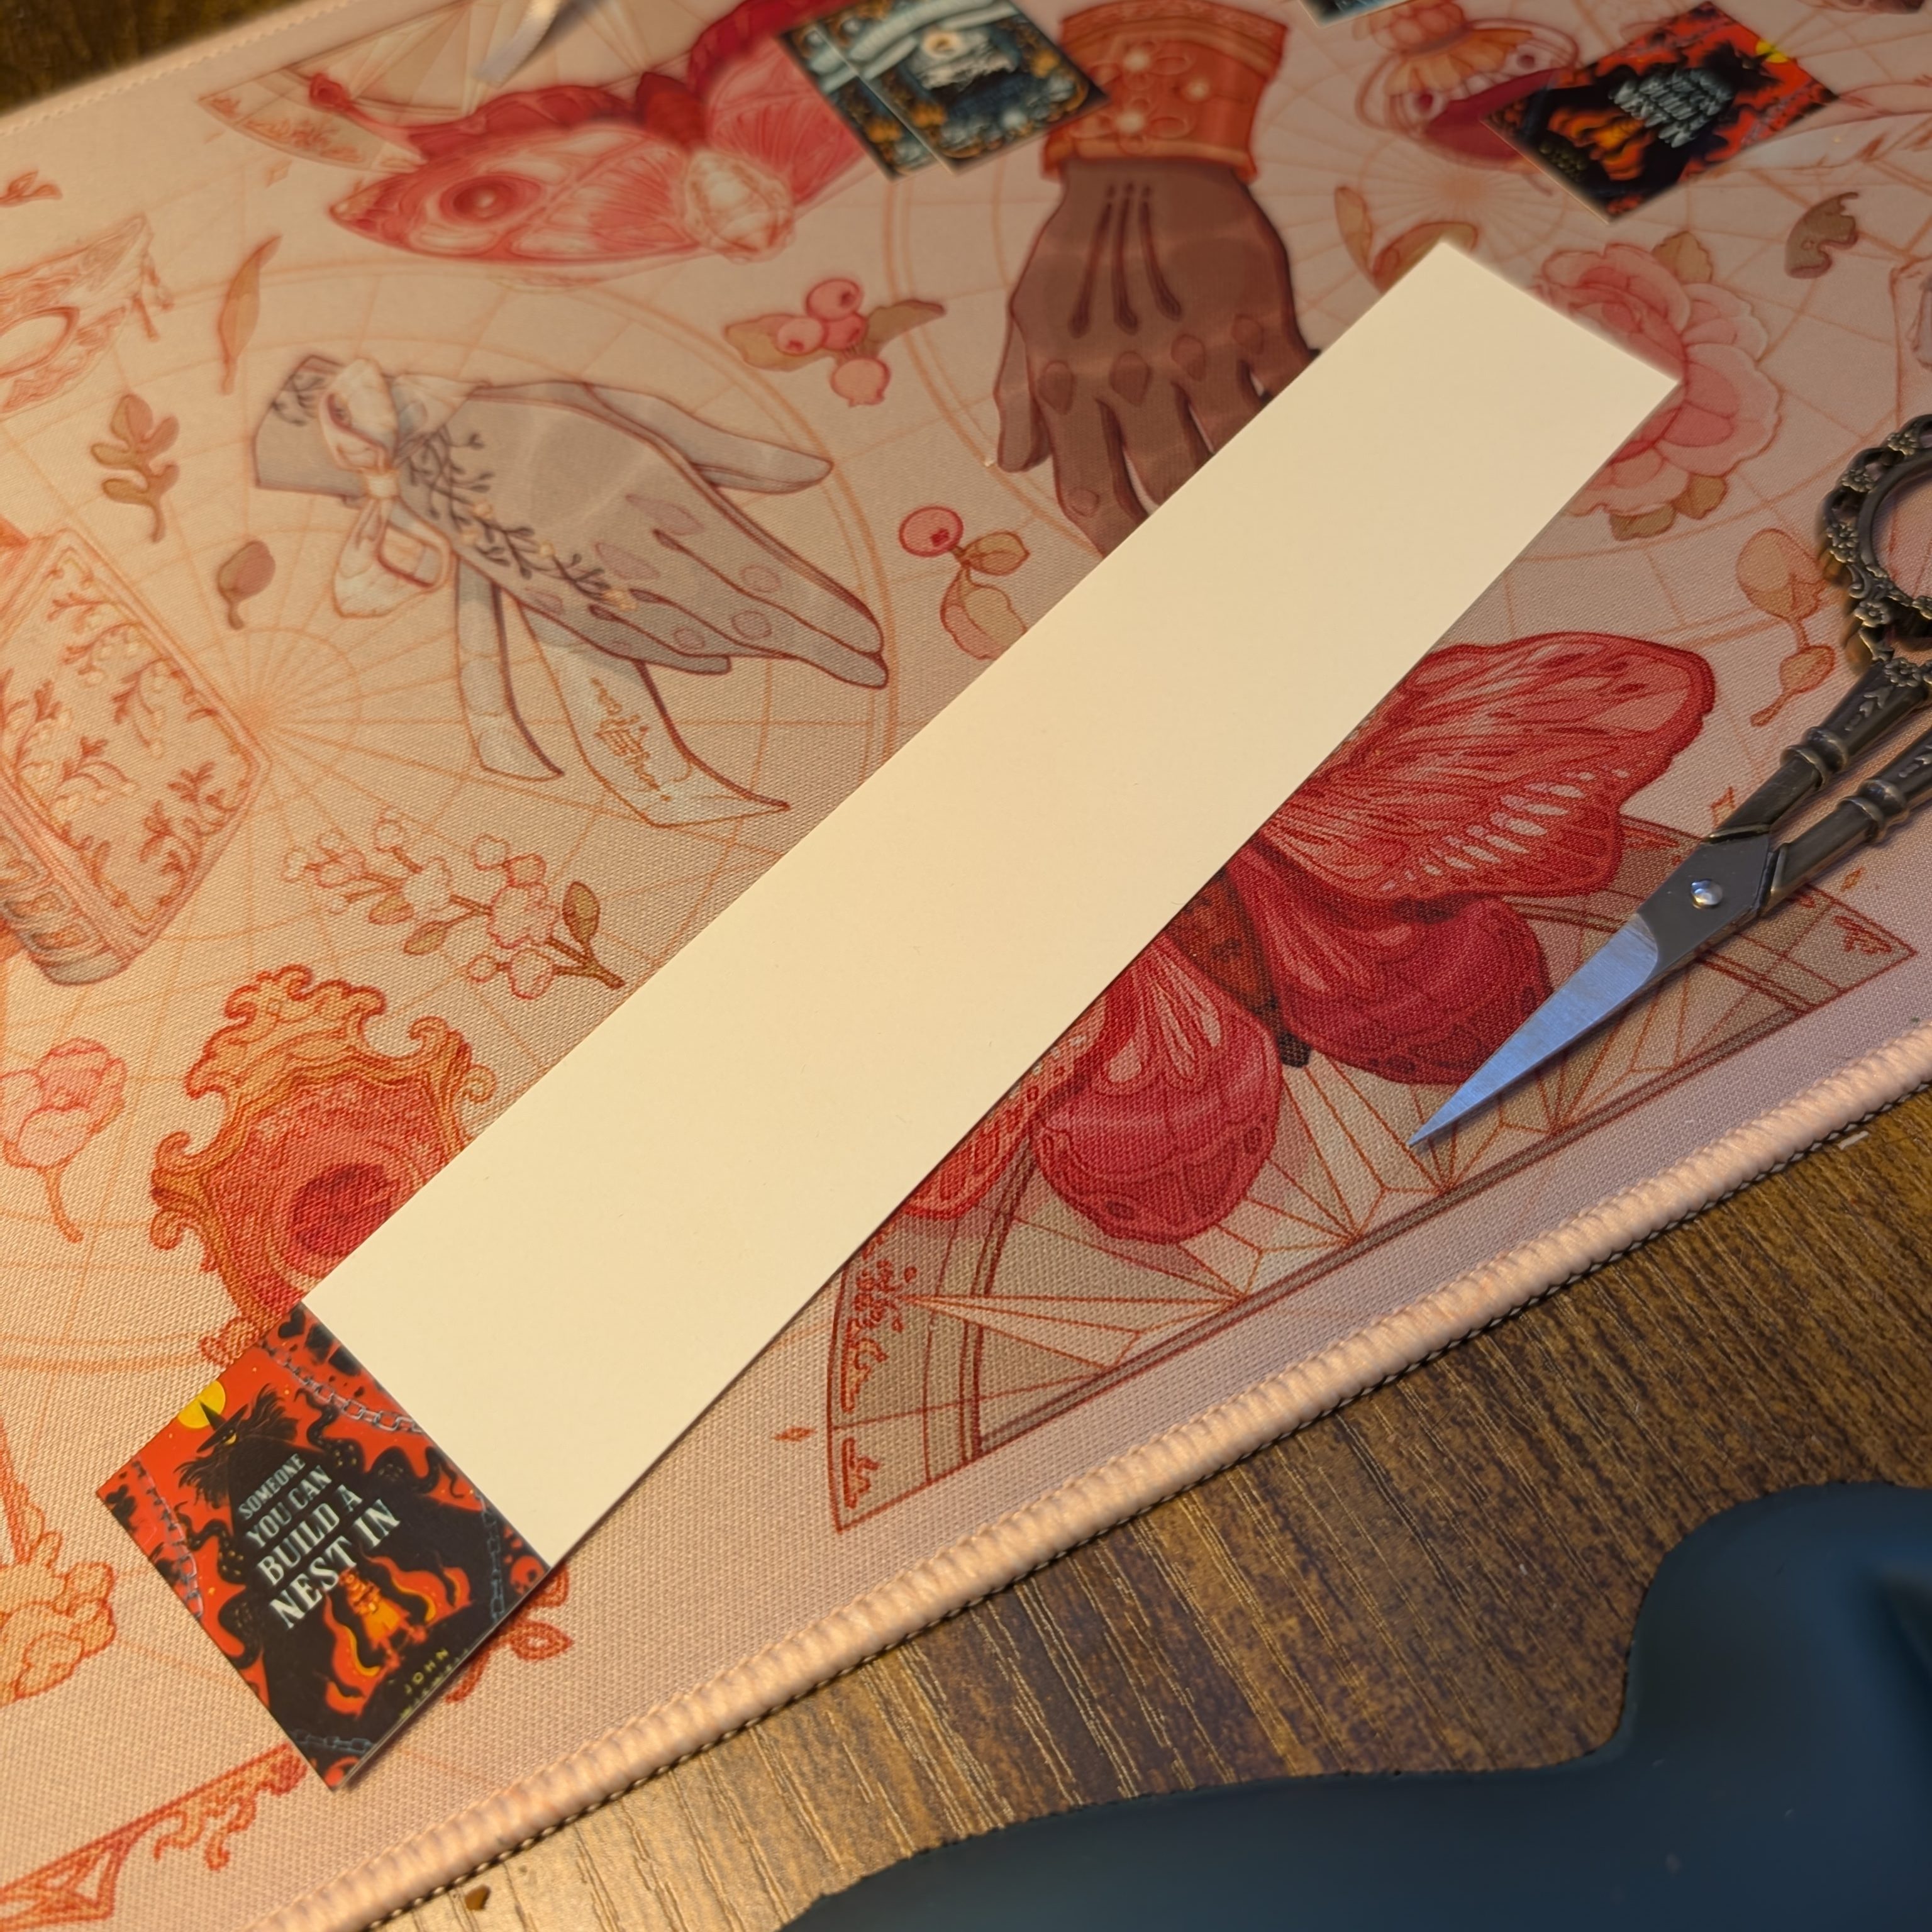
This is where a tabletop cutter can be handy, but you can definitely use a pair of scissors or an exacto knife and a ruler if you want very straight lines. I use the tabletop cutter to cut along the long edge of the posterboard. Once that is trimmed off, you can use regular scissors to cut along the side of the cover, effectively removing all of the visible posterboard from the cover.
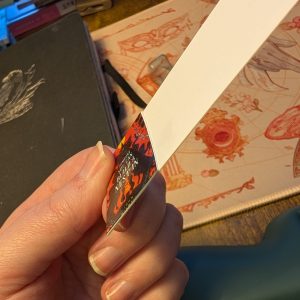
Step 5: Glue
This picture right here is why I love glue tape. It honestly makes this process so easy and clean. You can definitely use any kind of glue for this, but glue tape is my favorite. You’re going to take your glue and put it on the back of the cover you just cut from the posterboard. You can put this on the entire back or just on one side, like I do. It doesn’t really matter. Do what feels right.
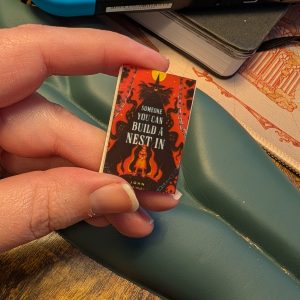
Step 6: Stick the Cover and Repeat
You’ll take that cover that you put some glue on and stick it to the edge of the poster board strip you cut earlier. Now you cut along the edge of the cover and repeat the gluing process until you run out of paper on the single strip. If you want it to be bigger, you can create another strip from the large piece of posterboard by gluing your cover stack to the top edge of the posterboard, like you did in the beginning. You should eventually have something that looks like this:
A couple of notes: I use my fingers to roughly line up the edges each time I glue the cover to the strip of posterboard. If it goes over a little here and there, I tend to not care too much. You can trim it here and there with some small scissors or you can just leave it. Like I said earlier, this is a craft where I think small differences aren’t going to ruin the end result.
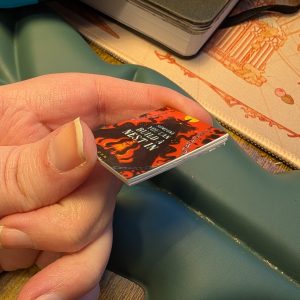
Step 7: Stick on the Back Cover
I know this photo looks strangely like another photo I put on here, but I promise you it’s different. You’re going to take the second cover you printed of the same book and put it on the back of your stack so it covers up the posterboard.
This is also where you could put your alternative back cover if you wanted to do that instead. I put my mini books in a container, and I like to be able to see what the book is from more than one angle.
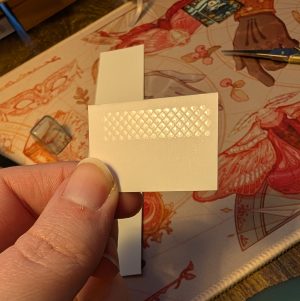
Step 8: Add Washi Tape to the Spine
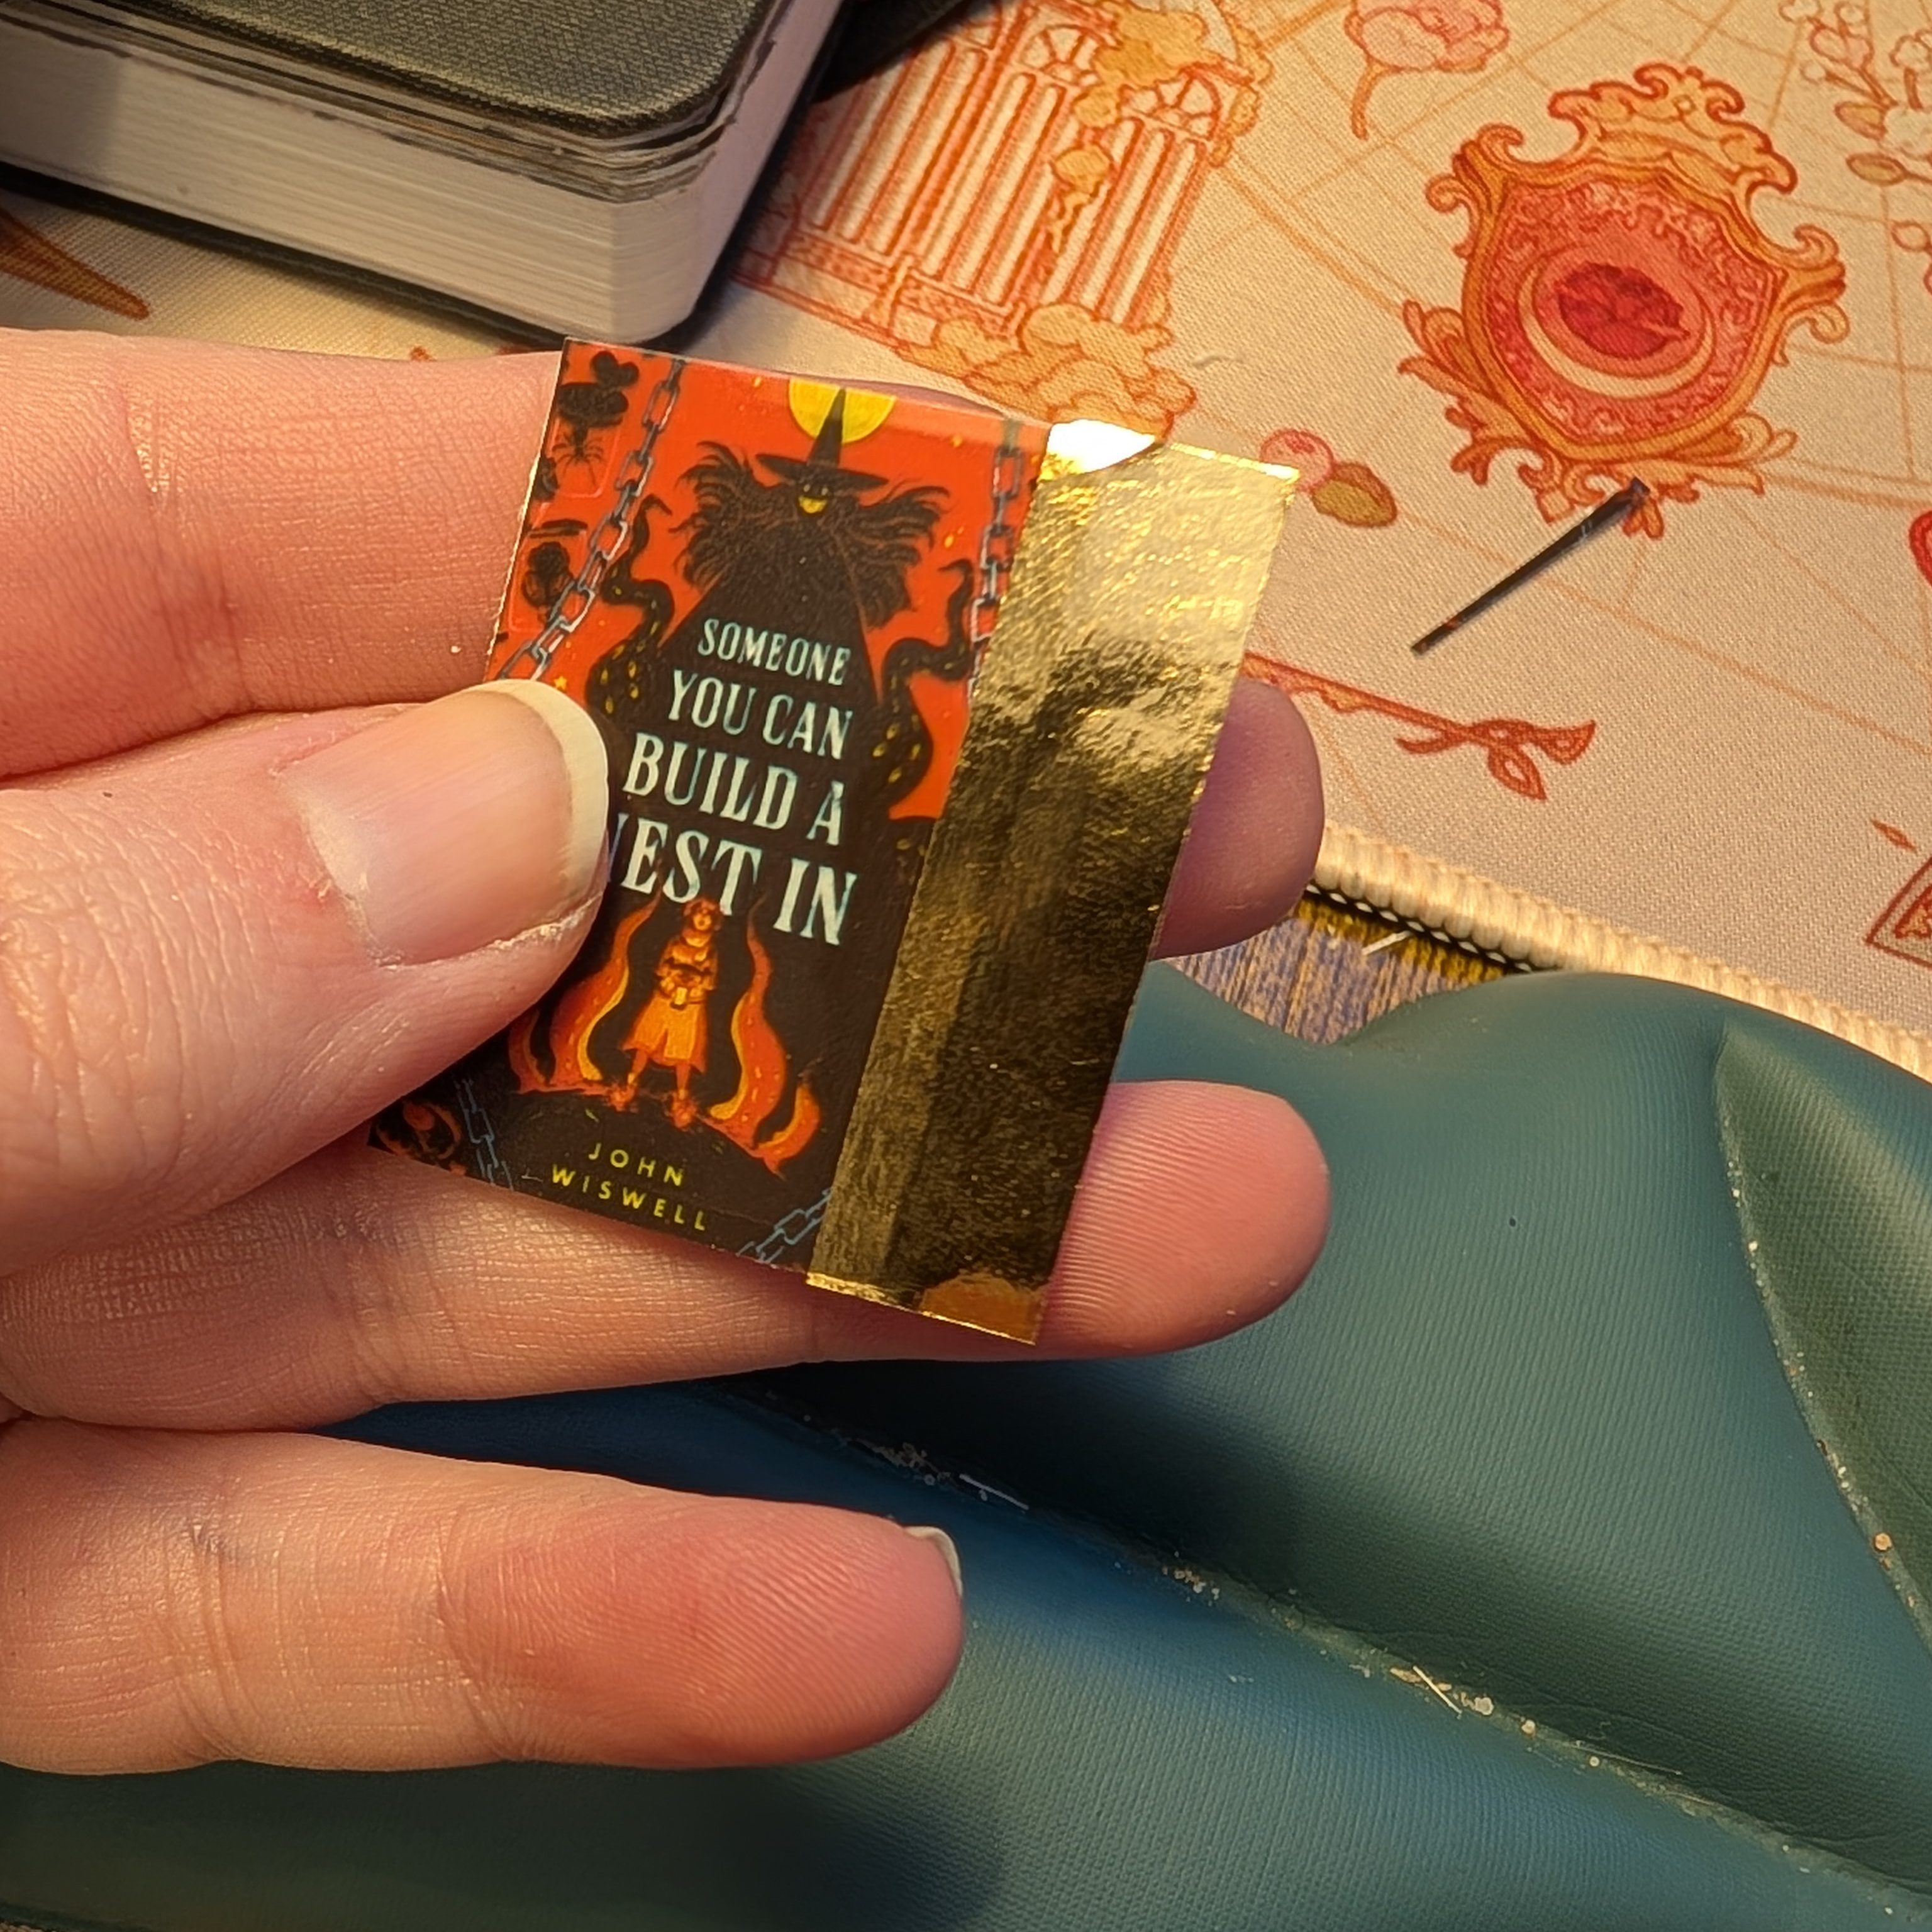
You can use any kind of washi tape you want here. The idea is to make it look like the spine of the book. That being said, the backside will look like a book bound the wrong way so if that bothers you I would use the alternative back instead of a copy of the cover image.
What I like to do is add the washi tape to the edge of the back side so I can get it in the spot I like. Then I trim the edges of the top and bottom before folding the washi tape over the spine and on to the front cover. Depending on how wide your washi tape is, you might want to trim it down so it doesn’t cover anything you don’t want it to but you do want to make sure you have enough space to keep the washi tape on. I have found that some washi tapes don’t stick as well as others, so definitely have a couple on hand and see what works best for you.
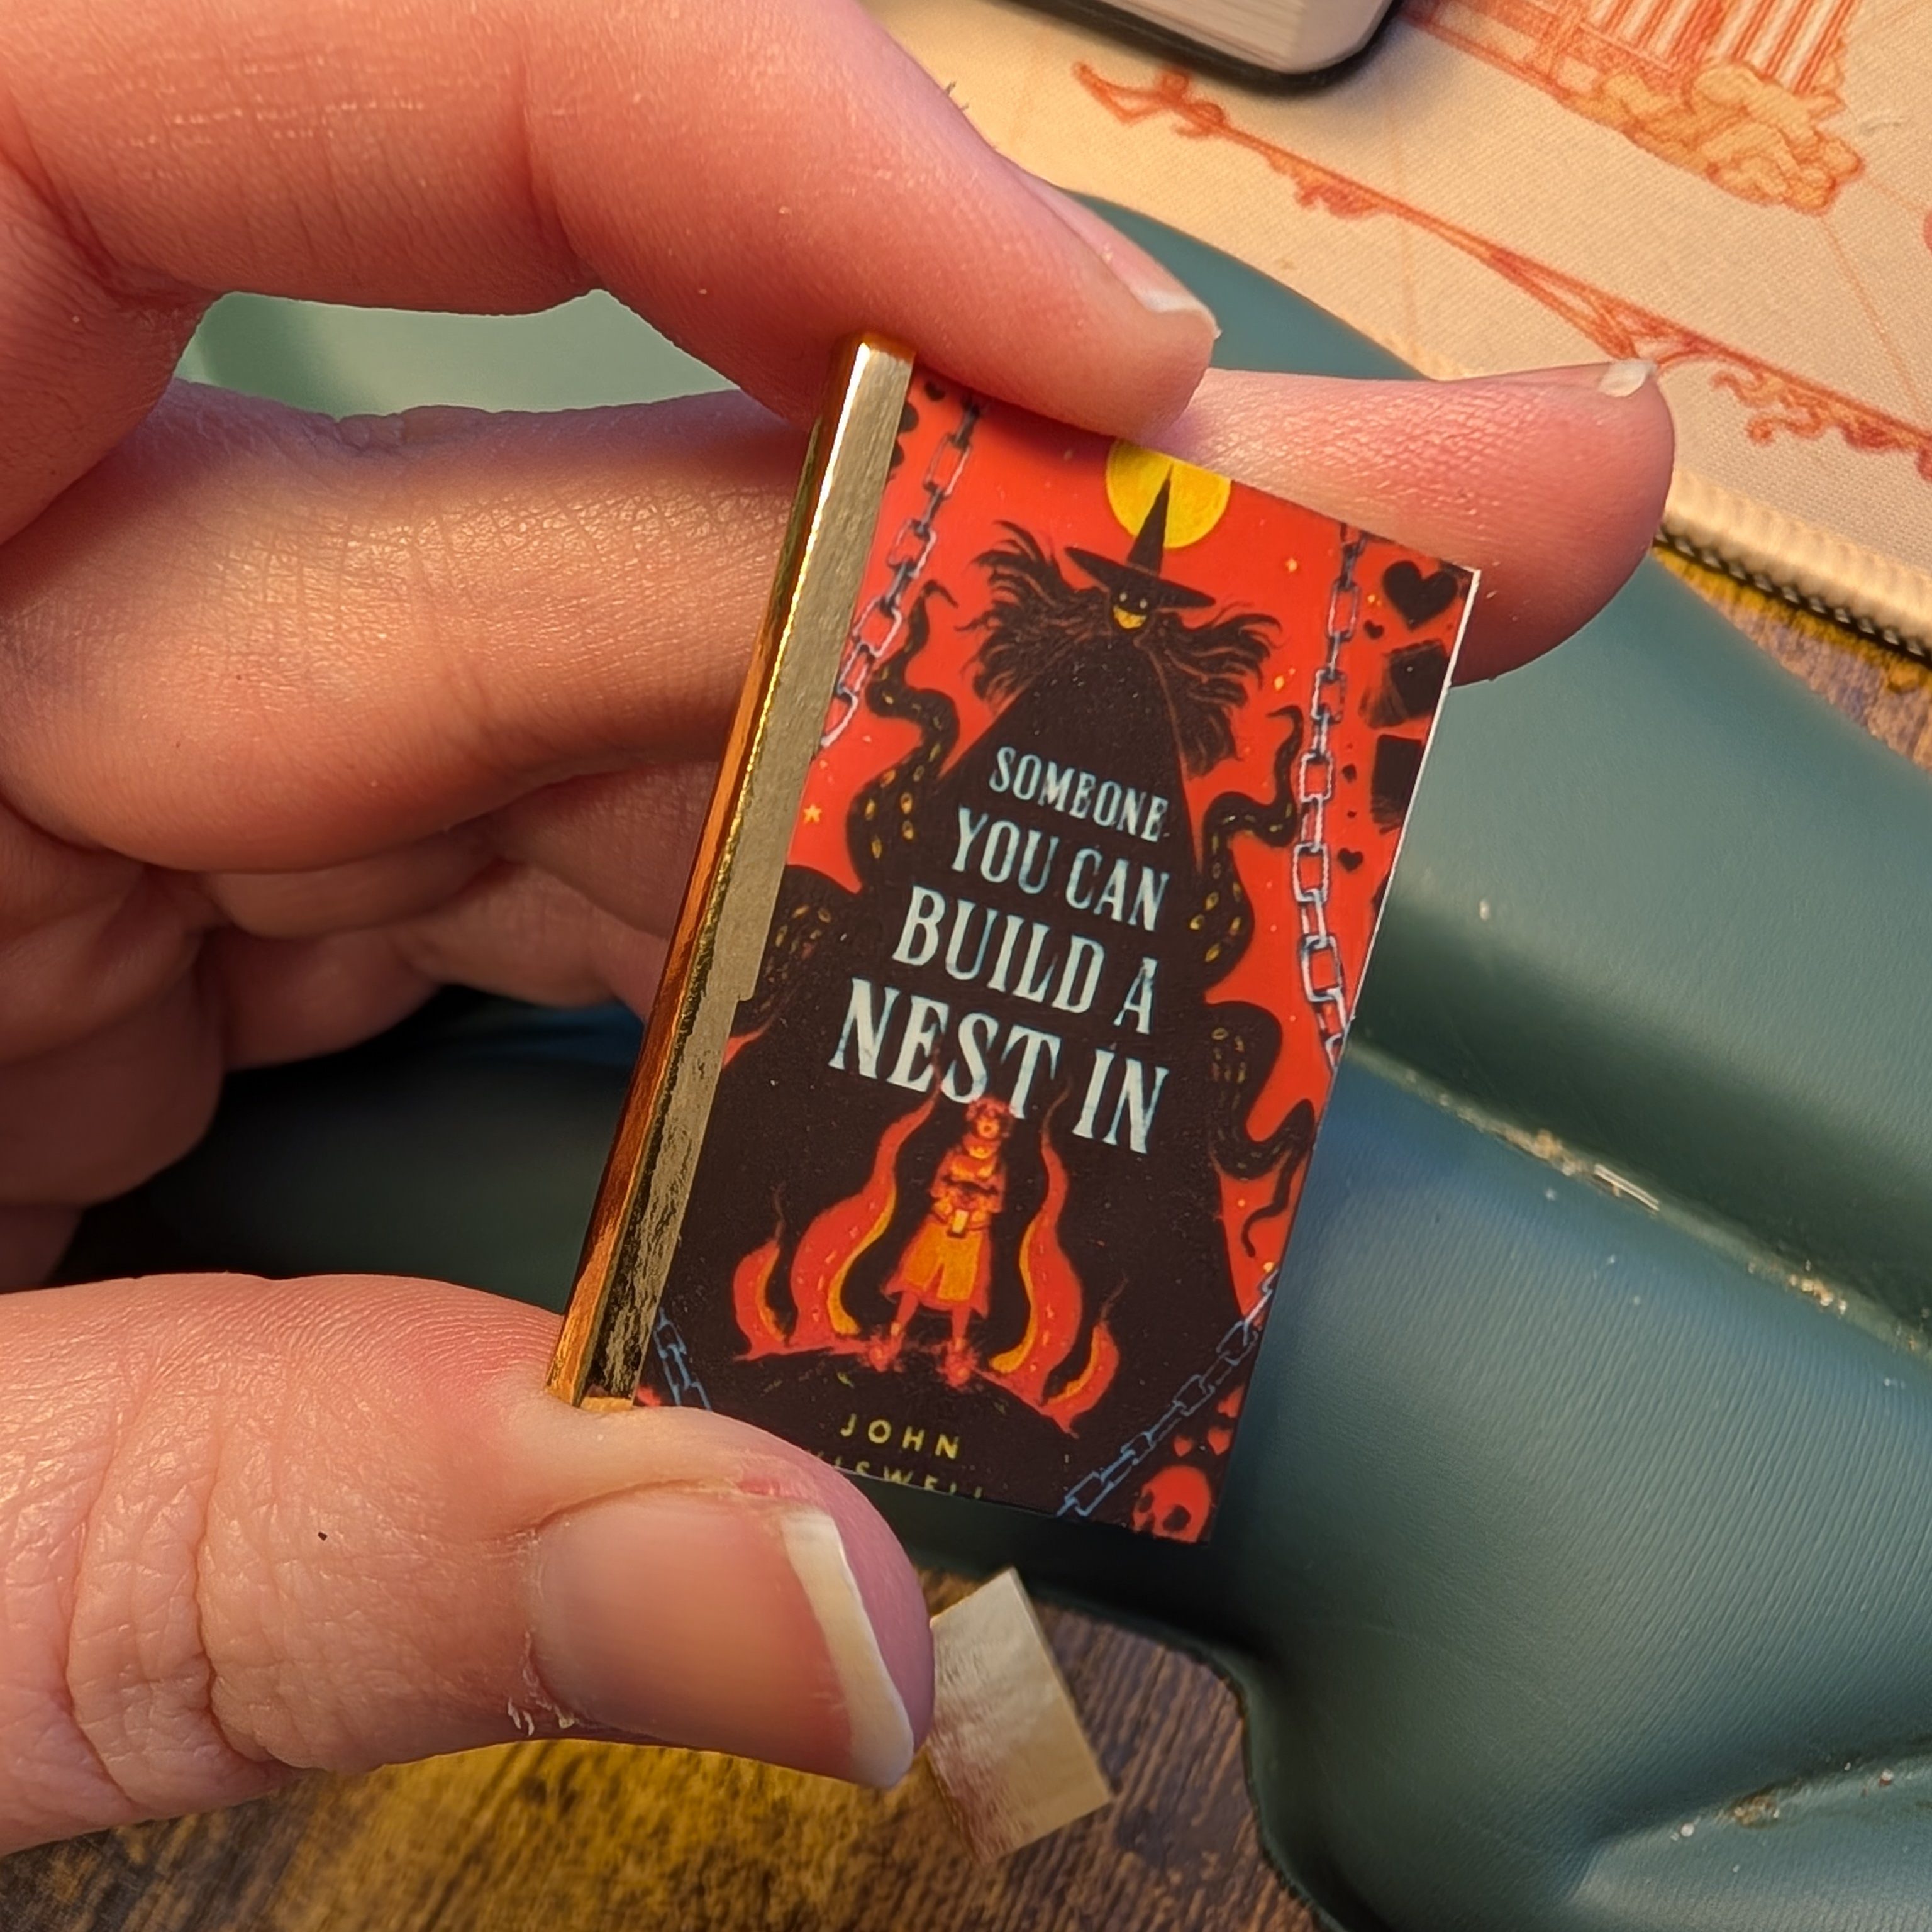
Step 9: Celebrate! Or Make More?
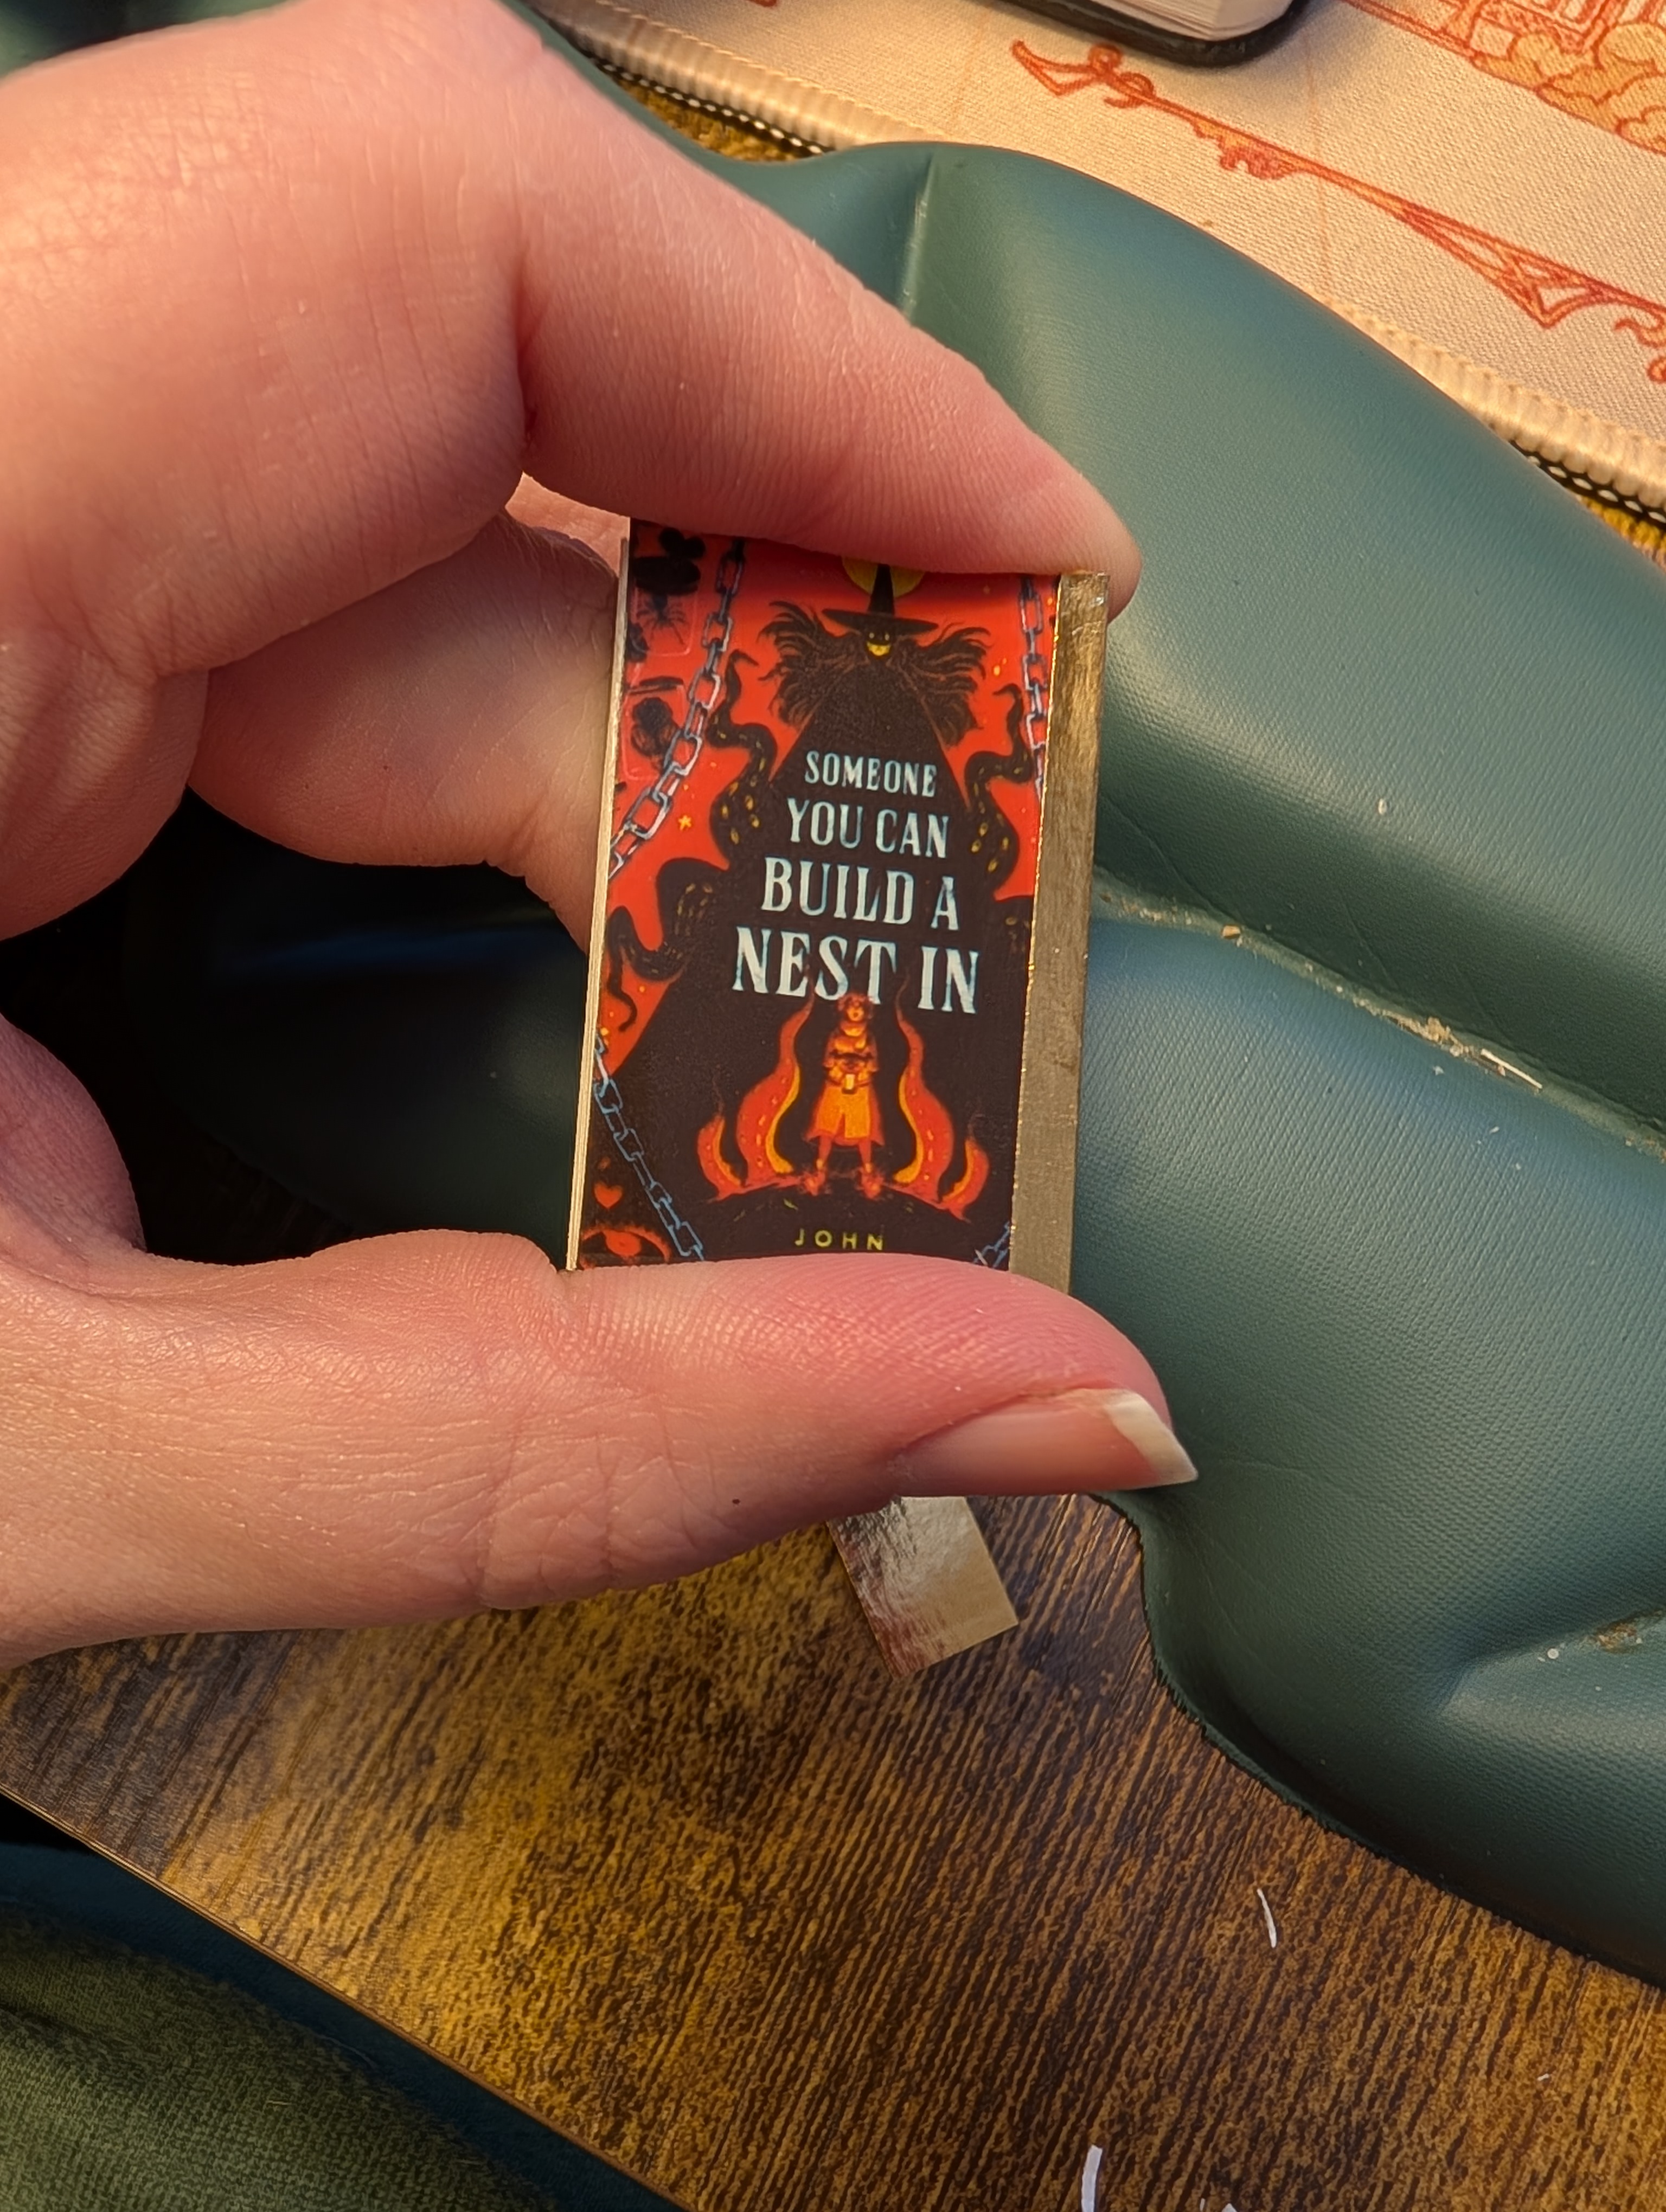
Congratulations! You have made a mini book! I found that once I got into the groove with this method, I was able to get quite a few done within an hour. If you just have the two to make, it shouldn’t take you too long to complete.
So that’s it! I hope you enjoyed this tutorial. I’ve never really made one of these before, so I hope I explained it well enough. If you try this out, let me know how it goes. I’d also love to know if you made any changes when you made it. Everyone does crafting differently, so I’m always interested in knowing how people might adapt a tutorial to suit them. It might also be helpful for anyone else who follows this tutorial.
Next week, I should be back with another book review for you all. I hope you enjoyed this switch-up in content. I’ve just really been having fun making these the past couple of weeks. I’m trying to make up for the backlog of read books that I never made a mini book for.
So long for now!
Bye friends!!!

Leave a comment